Proxmox VE (Virtual Environment) is an open source fast growing Virtualization Platform which is being implemented by many IT Professionals globally.
Promax has three major platforms (Virtual Environment, Backup Server and Mail Gateway). In this article I will mainly mention the Virtual Environment Release 7.0. You can see more details of Proxmox VE from here
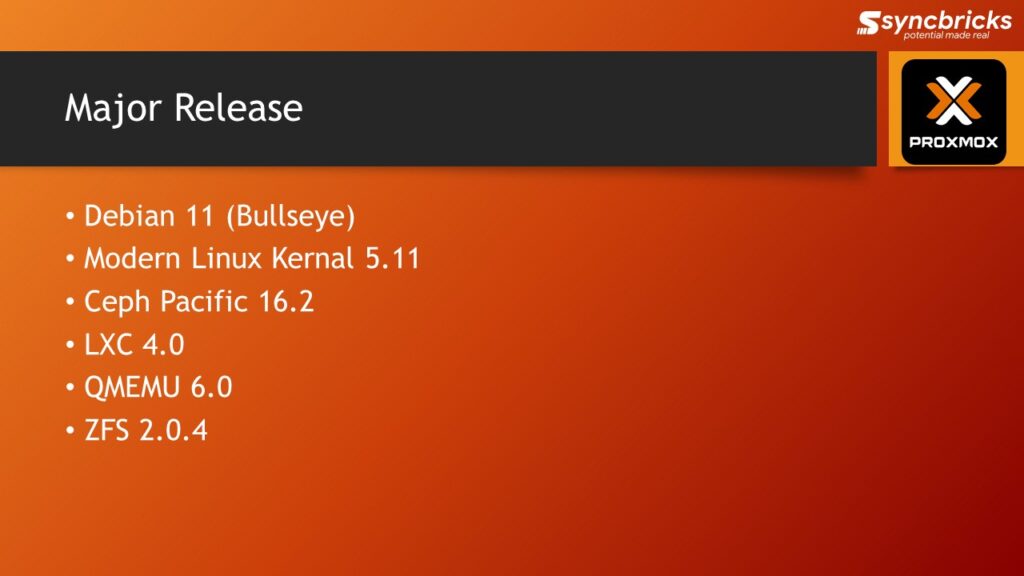
What’s New in Proxmox 7.0
Promox VE7 has Various Improvements. The Environment in base system Debian, QEMU, Kernal, Ceph and LXC.
Proxmox VE 7 Hardware Requirements
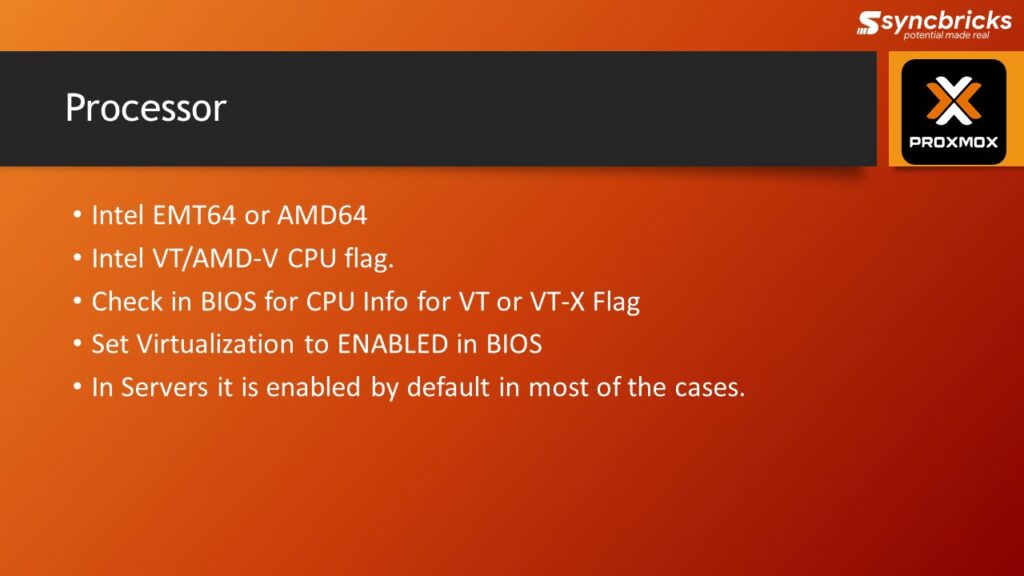
Processor : 64 Bit Processor must have virutalization capability.
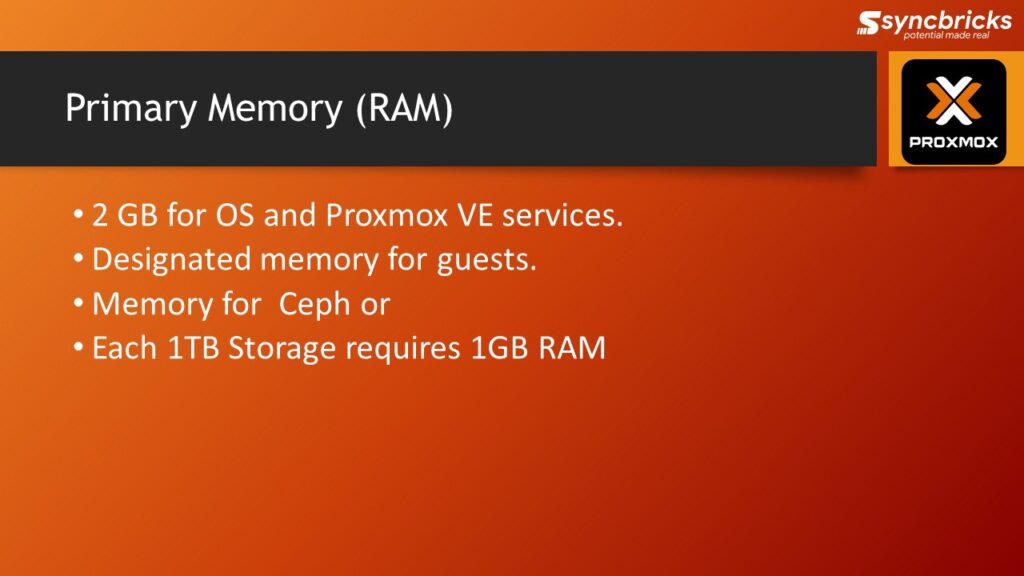
Ram : 2GB for Operating System, 1GB for each 1TB storage and then additional for Ceph and then whatever is required by guest operating sytems (VMs)
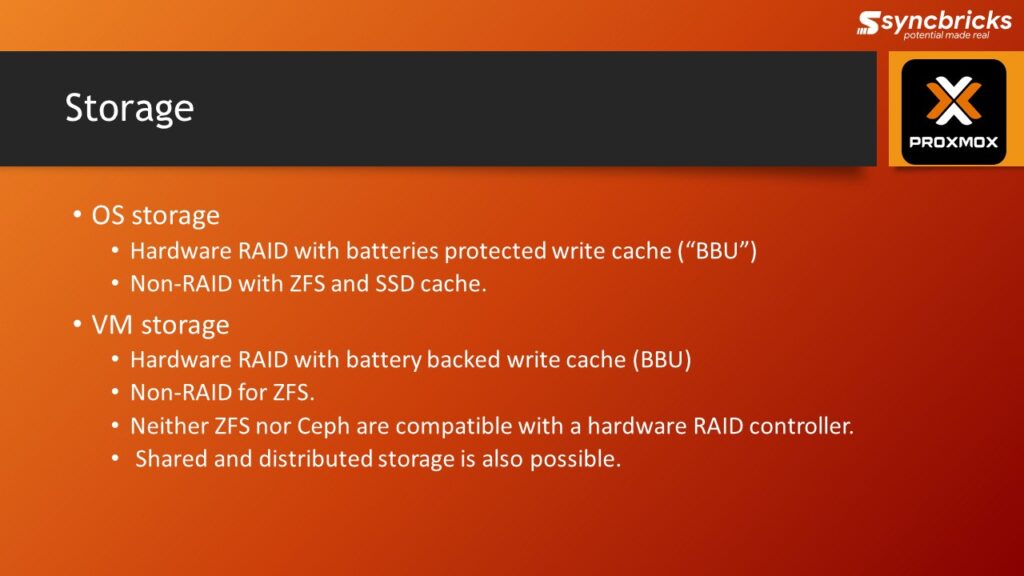
Storage Required for Installation, VM Disks, Data and backups
Proxmox VE7 Download
You can download the latest version of Proxmox VE from the Proxmox Website here
Proxmox Full Tutorial VE 7.3
You can either continue to read the article or watch full installation tutorial
Proxmox VE7 Installation
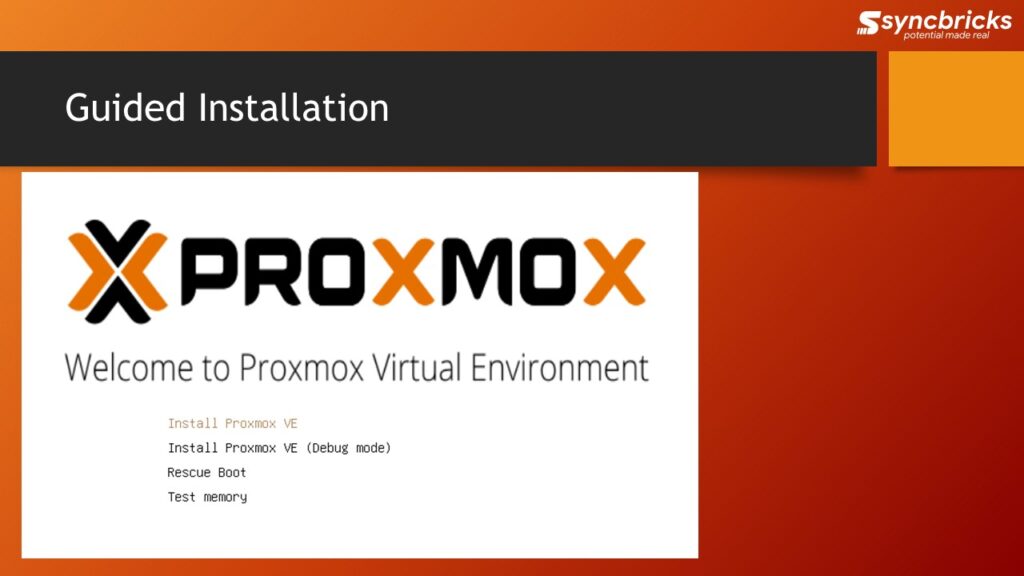
Guided Installation is similar to previous version, however btrfs is now available as File System selection in preview mode.
How to Configure Proxmox Additional Storage
I added SAS 900 GB X 2 Drives into the H P Server, created RAID 10 in Hardware. Now this is available to me to use. How to add this to PVE. Storage details of proxmox can be found here https://pve.proxmox.com/wiki/Storage
LVM Storage
LVM storage is used to store images, backups etc. This is great option and it is much reliable. Only one problem is that if I assign 100GB storage to a VM, the Physical Volume (PV) assigns 100% of 100 GB to that VM, which is not efficient way. However, LVM-Think is the Solution.
Proxmox LVM Thinpool
If You create 100GB VM Disk and it occupies only 10GB, from physical storage only 10GB will be used. Isn’t it efficient, this is done in LVM-Thinpool.
I will explain you how to create the Proxmox LVM Thinpool. Thinpool also stores snapshot images.
So let us see how we can create LVMThin-pool. I have added 900GB into my Proxmox VE 7.0 Node. Below is step by step guide what I did.
Format Disk
This will for sure remove all the data from the Disk, which I am sure about. My Disk name is sdb and the path is /dev/sdb so I will used below command to clean to create partition table
sgdisk -N 1 /dev/sdb
Create Physical Volume and Volume Group within Disk
Now PV is Physical Volume and VG is Volume Group. I created both using the below commands in my disk named sdb
pvcreate --metadatasize 1024M -y -ff /dev/sdb1
vgcreate --metadatasize 1024M proxvg /dev/sdb1
Create LVM Thin Pool
LVM (Logical Volume Manager) Think pool is the option that we need to create. Out of 900 GB I want to assign 400 GB to Thin pool. So I will use below commands to create the Thinpool
lvcreate -l 100%FREE --poolmetadatasize 1024M --chunksize 256 -T -n proxthin proxvglvcreate -n proxvz -V 400G proxvg/proxthinCreate EXT4 File System
mkfs.ext4 /dev/proxvg/proxvzMount new Logical Volume (LV)
Now mount the new Logical Volume to Proxmox Node so we will create a new directory
mkdir /media/vz
echo '/dev/proxvg/proxvz /media/vz ext4 defaults,errors=remount-ro 0 2' >> /etc/fstab
mount -a
lvs -a
Now Add the Directory in the Web User
You can simply follow below screeshot, first click on Data Center, then Storage and then add directory.

The ID will be or any name you want and Directory path will be the one that we created on top.
ID : vz
Path : /media/vz

Add LVM Thin
Now you can create LVM Thin as per the below screenshot.

Use the below Information for in the box.
    id:proxthin
    Volume group:proxvg
    Thin Pool:proxthin
1 thought on “Proxmox VE 7.0 Complete Guide”